1. Remove the power unit that is in your Eclipse , keeping tract
how in general the unit is mounted so you have an idea how the new one is
to fit. The unit is held in by the outside trim nut, where the mast comes
out of the car, and 3 bolts at the base of the power unit. The external
nut is removed with a small needle nose pliers by sticking the nose of the
pliers into the slits and turning off counterclockwise.
MOUNTING:
2. Pull off of your original power unit the cast head that mounts under
the quarter panel by using a flat head screw driver an slightly prying up
at each notch, (SEE PHOTO 1, BELOW ) to allow the head to come off.
Install the head onto the new power antenna. ( SEE PHOTO 2 BELOW )
3. Next mount the supplied bar bracket with holes that came with the kit
and mount one end of it to one of the lower tabs with the supplied screw.
After you install the power unit in the car, bend it to where the original
bracket was bolted to the chassis and bolt it tight where the original one
was mounted.
4. Now install the power unit into your Eclipse, using your original outer
body trim and fasten it with the New Nut that was supplied. After the
outside has been tightened then tighten the lower bracket to the chassis
as noted above.
ELECTRICAL:
5. At the Car Electrical Supply Harness, test with a test light or volt
meter, in that harness which wire has 12 volts on all the time when the
KEY IS OFF and the RADIO OFF, this is the wire that you will need to
connect the RED wire to from the New Power Unit. Use the supplied blue
scothlock to connect, as this will allow you to do so without cutting any
wires. Then with the key on turn the radio on and again take the test
light or volt meter, and see which wire now in that plug now lights up or
has 12 volts, and then connect the GREEN wire to it. The Black wire is
connected to the chassis Ground, anywhere, or which ever wire is the
ground wire in the factory harness....
Schematic of the New Power Unit:
Red ........ Wire needs 12V all the time, Key ON and OFF.
Green ..... Wire needs power ONLY when the Radio is ON.
Black ...... Wire is a Constant Ground.
4. Connect the reception wire that runs to the
radio, the large black wire from the new power unit. Other than putting
the interior trim back, your New Power Unit should now Work.
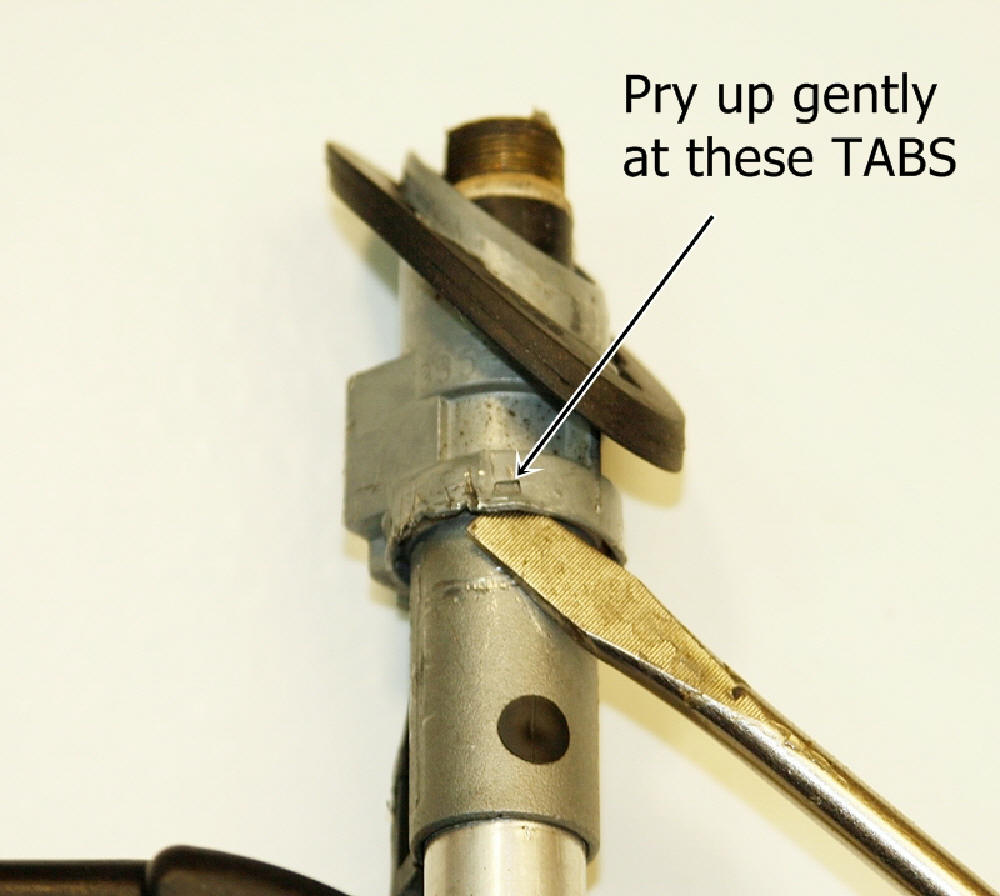
PHOTO 1
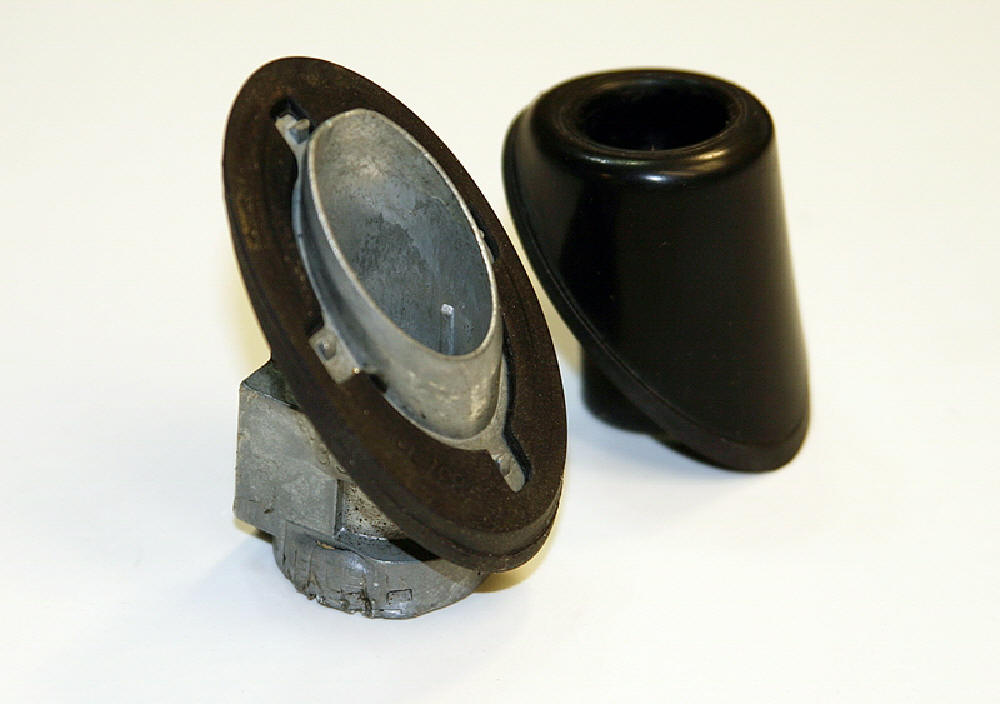
PHOTO 2